


Create a rocket-themed Father's Day card kids will love. A fun craft project perfect for toddlers, preschoolers and...
Kids love jewelry, brooches, pins and other trinkets to wear and treasure. But, they are so easily lost if not stored carefully when not being worn.

Meri Meri to the rescue! We’ve designed gorgeous clay trinket dishes that you can make at home - a perfect place to keep special little items safe, they're little pots of creative fun. These also make fabulous gifts to send to grannies and friends.
You Will Need:
• Air dry clay
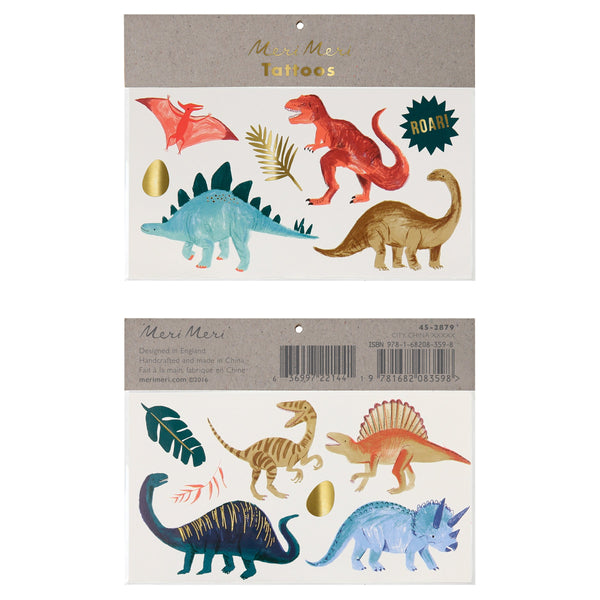
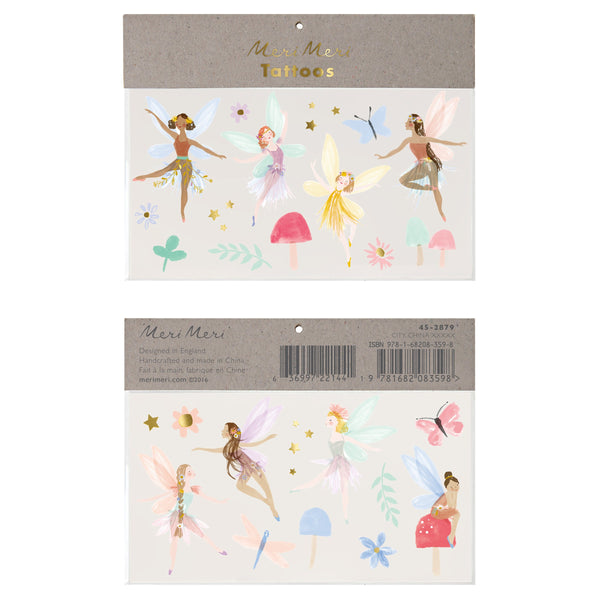
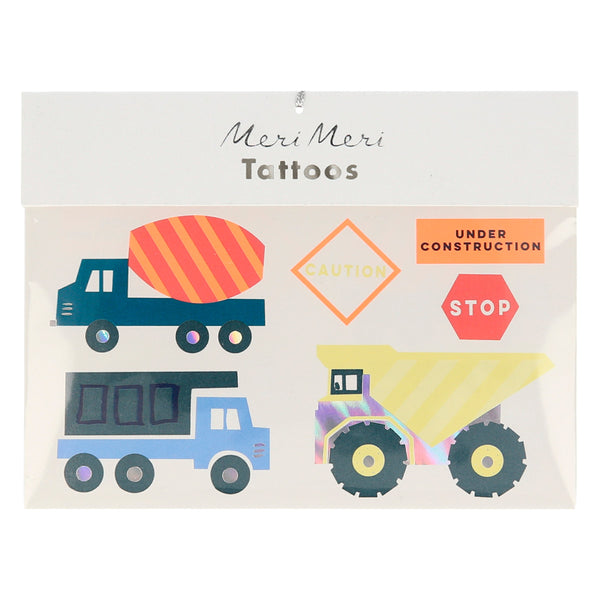
• Temporary tattoos
• A rolling pin
• A cookie cutter (check out our stainless steel designs), a lid or even a drinking glass rim to cut out your dish shape
• A bowl or something with a rounded surface to shape the dish
• Water
• A cloth, cotton wool or kitchen paper
• Scissors
• A large paint brush
• Varnish
• Paints and paint brush (optional)

Step 1:
Roll out some clay, larger than the cutter shape you are using, making sure it is around 1/8th inch thick.

Step 2:
Cut your dish shape out with the cutter you have chosen.
Step 3:
Smooth any rough edges down with your finger. A bit of water may help.
Step 4:
Place your clay shape into or over a rounded surface; you may want to line it with plastic wrap or an alternative to prevent it from sticking. We used the inside of a bowl, but if you don’t have anything suitable you can form a bowl shape using your hands. Use your fingers to gently push the clay down and smooth out any bumps or cracks, using a little water if necessary.

Step 5:
Once the top of the clay dish has dried, pop it out and turn it upside down so its base can dry.
Step 6: (optional)
Once the clay has completely dried out, it’s time to paint it if you want. The air dry clay we used is bright white, so we were happy to leave it unpainted. But if you want to paint the clay, then go for lighter colors as these work best under temporary tattoos (unless the tattoos have metallic touches, in which case they can look great on light or dark colors). Paint evenly, then leave to dry.

Step 7:
Cut out your tattoos, keeping the protective layer on while you decide on placement.
Step 8:
Follow the instructions on the tattoos and stick them to the clay. Be careful not to rush this part as you need to make sure the full tattoo attaches properly. After removing the plastic tattoo protection sheet, we used damp cotton wool to press onto the tattoo.

Step 9:
Use a large paint brush to apply the varnish in minimal strokes and not too thick, you don’t want it to pool. We used Deco Art Triple Thick Brilliant Brush On Gloss Glaze.


